
The Ingredients
The base of this candy is made with Crackers. Yes! Actual crackers. The kind that you could use with your soup! These gluten free Table crackers, made by Schar, are the gluten free version of the saltine cracker of our childhood. They look and taste just like them, down to the perforated break marks. 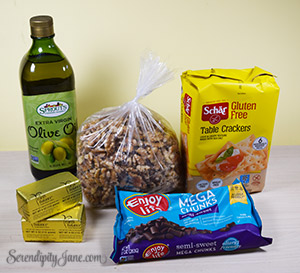
Vegan Butter takes the place of traditional butter in the toffee layer. I find that these cubes, by Earth Balance, are nice because you don’t have to measure. Two cubes measure exactly one cup which is what is called for in the Cracker Candy recipe. You can always use the Earth Balance Spread, but then you have the mess of measuring. The taste of either is great and you won’t even notice the difference.
The vegan butter and Brown Sugar are combined to make the toffee layer of this candy. I made a batch with light brown sugar, then decided I wanted to make a second batch for the blog. When I went back to the grocery store, just a couple of days before Christmas, the only brown sugar left on the shelf was the dark. They both work, but in my opinion, the light brown sugar looks the best and has a lighter taste compared to the dark brown sugar which had a more intense flavor. You can use either, but my preference is the light brown sugar.
The chocolate layer on top of the toffee is achieved with Semi Sweet Vegan Chocolate Chunks by Enjoy Life. They have the same delicious flavor as our favorite Nestles chip, but without the milk products. Thank you Enjoy Life for making Vegan Chocolate Chips!
Topping the candy are toasted Walnuts. Make sure to chop them small enough so that they stick to the thin chocolate layer but not so small that they are powdery. Toasting them in the oven brings out the flavor and is definitely worth the extra effort.
The Process
- Preheat the oven to 425°.
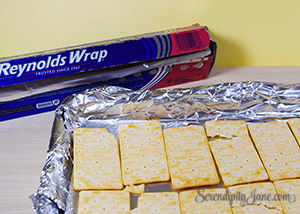
- Line a 15″ x 21″ baking pan with aluminum foil making sure to cover every surface. Baked on toffee is really hard to clean!
- Pour the Teaspoon of olive oil on to the foil and with a paper towel, coat the entire surface of the foil covered pan. This will insure that the foil is removed easily when the candy is done.
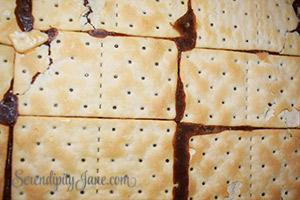
- Lay the crackers out, edge to edge, on the foil. If you have lightly broken crackers, just piece them together. the toffee will “glue” them together. If the cracker is completely crumbled, do not use it. It will be impossible to spread the toffee over crumbs of crackers. I used about 32 of the 36 rectangular crackers so you will have a few to spare in case some are too badly broken.
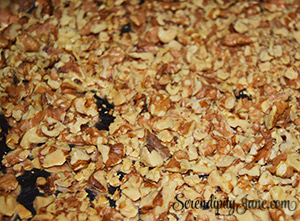
- Place the walnuts on a separate baking pan.
- Place the nuts in the heated oven for 8 to 10 minutes. they will be lightly browned.
- Remove from the oven and set aside.
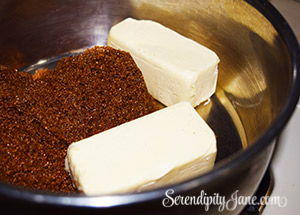
- In a medium sized saucepan, with medium heat, melt the vegan butter and the brown sugar together. *Note: If you are using light brown sugar, your mixture will not be this dark.
- Stir Occasionally.
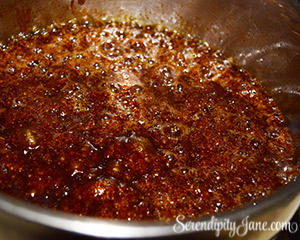
- Once the mixture begins to boil, set a timer for 5 minutes.
- Reduce the heat and stir continuously.
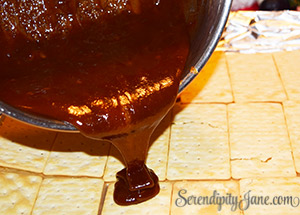
- When the toffee is done, pour the mixture over the crackers.
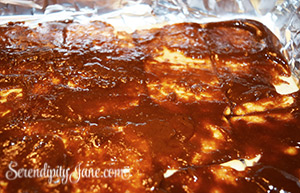
- With the back of a large spoon, spread the toffee over the surface of the crackers.
- Once the toffee is spread over all of the crackers, put the mixture back in the oven and bake for another 5 minutes. This will soften the mixture and allow it to seep in to the crackers.
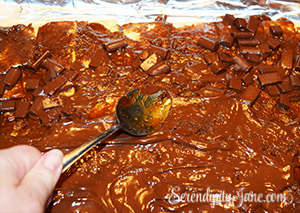
- As soon as the toffee covered crackers come out of the oven, sprinkle with your chocolate pieces.
- Let them stand for a couple of minutes. The hot toffee will melt them. If you are using chunks instead of chips, you may want to put the tray back in the oven for a minute to allow the larger chocolate pieces to thoroughly melt.
- Once melted, evenly spread the chocolate so that it covers the toffee, taking care to make sure the thickness is even.
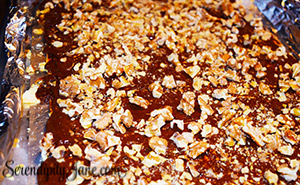
- Sprinkle the chocolate layer with the toasted walnuts.
- Set the candy in a cool place to completely cool and set up. I let it cool at room temperature for about a half hour before putting it in the refrigerator to finish hardening.
- Once the candy is cooled, Peel the foil off of the candy. If you oiled the foil, it should easily peel off.
- Turn the sheet of cracker candy over and note where the divides are. It is much easier to try and break it along these lines.
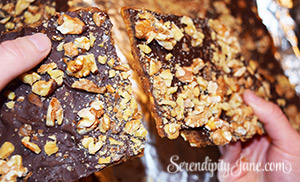
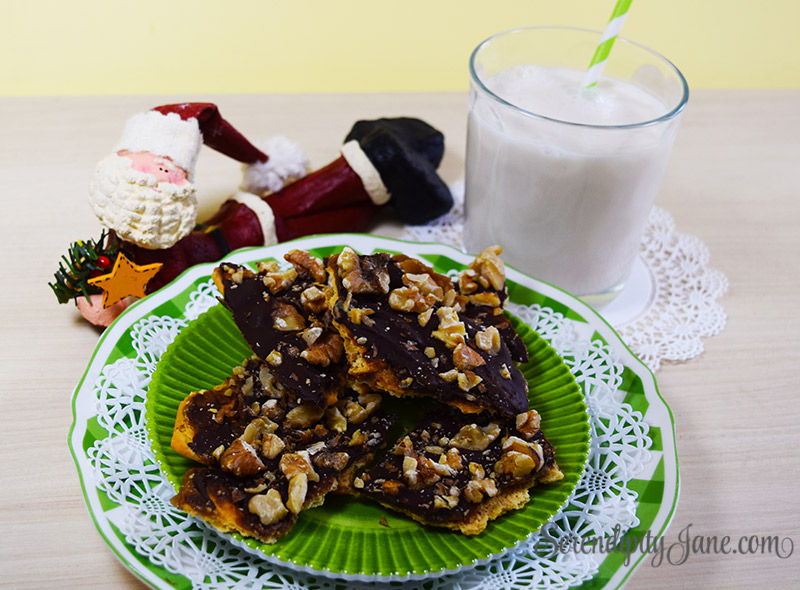
- Break the candy into serving pieces by snapping it using your hands.
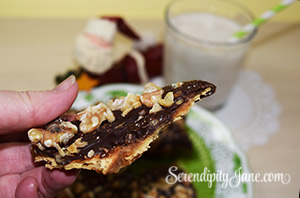
- Notice the layers.
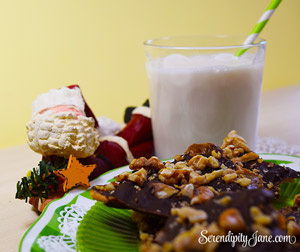
All ready for Santa!
Enjoy!
Ingredients
Equipment
Method
- Heat oven to 350°
- Chop the walnuts into small piece, place on a baking sheet, and put them in the oven for 10 minutes to toast. Set aside.
- Prepare the baling sheet by wrapping it in aluminum foil.
- Pour the olive oil on the foil covered baking sheet and use a paper towel to evenly oat the surface of the foil with a very light coating of oil.
- Lay the Table Crackers out, side by side on the foil, salt side down. Cover the sheet.
- Piece together any broken crackers.
- In a medium size sauce pan, melt the vegan butter and brown sugar together over medium heat and bring it to a boil. Stir continuously.
- Once the mixture begins to boil, set the timer for 5 minutes. Turn the heat down and stir continuously for 5 minutes. you don't need a candy thermometer., just go by the time.
- Once the mixture is done. Pour it over the cracker mixture and spread it out to cover the crackers and with the back of a spoon, spread the toffee mixture evenly over the crackers.
- Place the pan back in the over for 5 minutes. The toffee mixture will soften and seep into the crackers.
- Pull the pan out of the oven, and sprinkle the Vegan chocolate chips over the top of the toffee coating. Let stand for 5 minutes, then using the back of a spoon, spread the melted chocolate evenly over the surface. If you are using the chunkier Enjoy life pieces, that are larger than standard chocolate chips, you may want to set the entire pan back in the warm oven for one minute to make sure the chocolate has melted,
- Immediately sprinkle the toasted walnuts on to the melted chocolate. Using a paper towel to protect your hand, press the nuts in to the chocolate.
- Let cool for two hours. The candy will be set.
- When the candy has set, gently peel the aluminum foil from the back of the candy.
- Break the candy into pieces. Take a look at the back of the candy and try to break the candy along the lines between the crackers. Do not be alarmed if the candy does not break cleanly along the lines. Sometimes it does and sometimes it doesn't.
- Enjoy!